· 3 min read
How do I create a purchase order?
Pick a vendor, add line items, and create a draft PO — plus how a PO gets approved and issued.
A purchase order starts as a draft you can still edit freely, moves through approval, and then gets issued — three distinct steps, not one.
Create the draft
- Open Procurement and click “New purchase order.”
- Select a Vendor, and enter Payment terms (e.g. “Net 30”), a Delivery date, and a Retention % if part of payment is held back.
- Under Items, click “+ Add line” for each item and fill in Description, Unit, Qty, and Rate.
- Click “Create.”
Line items are only editable while the PO is a draft — once it's approved or issued, they become read-only, the same way a BOQ locks after approval. There's no catalog picker here yet, so line items are entered by hand rather than pulled from a supplier catalog.
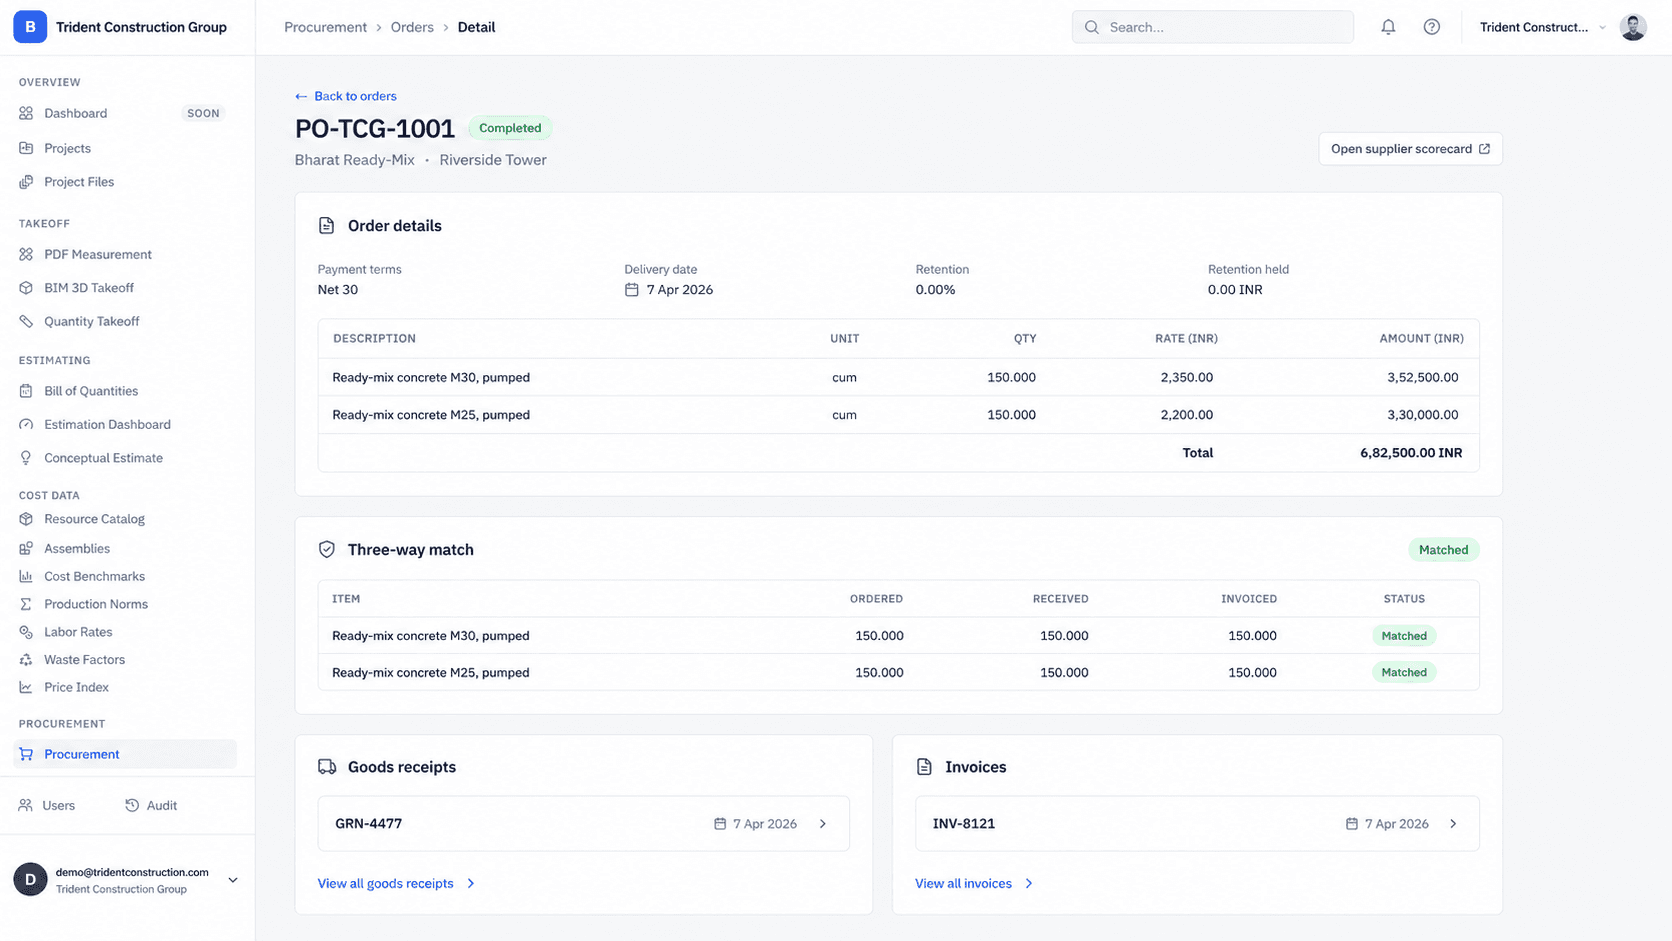
Approve, then issue
Approving and issuing are two separate actions, not one click:
- Click “Approve (commits budget).” This records who approved it and when — the PO is still a draft at this point, but its cost now counts against project budget.
- Click “Issue PO” once you're ready to actually send it to the vendor. A PO has to be approved before it can be issued.
Once issued, the PO is ready to receive against — see recording a goods receipt and an invoice. You can cancel a PO at any point before it's completed with “Cancel PO.”
A purchase order can also be drafted for you
Awarding a subcontractor bid package automatically drafts a purchase order from the awarded line items — you don't have to re-enter them by hand. See comparing and awarding bids. If that automatic drafting fails for any reason, the award still goes through and you'll be told to create the PO by hand instead.
Was this article helpful?
Prefer Buildiante in Google Search
Add Buildiante as a preferred source to see our updates more often in Google's Top Stories and AI results.